2. Woodcut Sign on CNC
Getting Started with V-CARVE
|
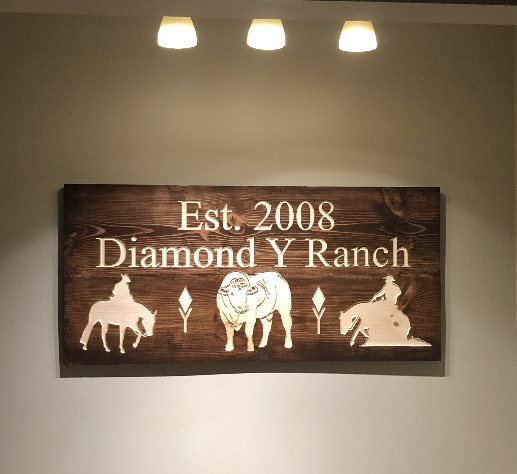
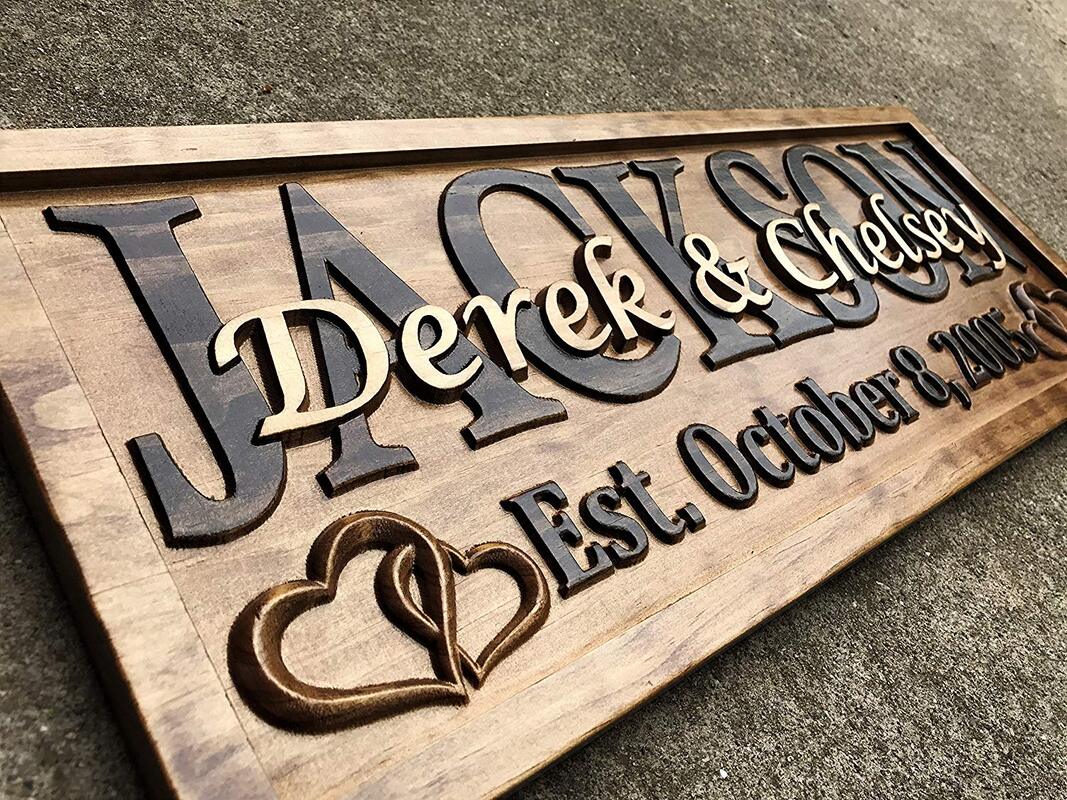
Each Student will be given a single piece of lumber that is 1 x 12 x 4’ pine. You will use this to create your sign. You may choose to use this square profile for your sign, or you may cut and reshape your blank prior to putting it into the CNC machine. Your sign needs to include some sort of text, a variation of color / stain, and at least two levels of depth. Use the following images to get ideas or search additional ideas online. All materials must be entered into your portfolio according to the following rubric found on the back. You will also be graded on your craftsmanship.
|
Samples
|

|
|
|
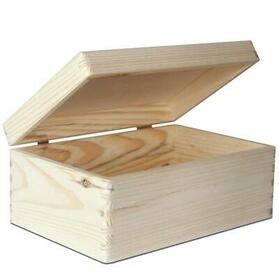
3. Supplies Box
Objectives : Students will create a Supplies box using 1 x 4 x 8’ boards. These boxes will be used to hold their own supplies for the course, including their Portfolio/Binder, brushes, and wood pencils. Students may plane down their material to ½ inch if they would like to make parts thinner. They will use either a through dovetail or a half blind dovetail for the joints. They will install small hinges on the box as well. Students will be graded on measurements, alignment, and finish. (also any other equipment they might use in the shop.)
|
|
Part 1 – Students will create rough sketches of their design that will show the layout of items they will store in their supplies box. You will be required to store a minimum of your binder, Paintbrushes, wood pencil. Any additional items you may want it to hold are optional. Include some rough dimensions to your box as far as thickness of material and rough openings / depths.
Part 2 - We will use the rough sketches to design your boxes using Inventor. You will need to deliver a multi-view layout of your box showing dimensions. As well as an exploded view with bubble labels and a parts list.
Part 3 – You will need to customize at least one part of your box using the CNC router. This may be done by V-Carving your name as well as a design (your design may be v-carved or 3D carved).
Part 4 – Once designs are done you will be able to start cutting and assembly of your box.
Part 5 – You will need to apply a finish of your choice to the box.
|
|
|
|
|
|
|
Picture Frame using Molding Toolpath
|
In this project you will create a picture frame using the molding toolpath on vcarve. You will create this molding toolpath to fit a 3/4 inch thick piece of lumber with the width and length you will need to create a picture frame the size you want. Keep in mind the larger you create your frame the more time it will take to cut.
You will create a straight piece of molding that will be cut at 45 degree angles. Then pieced together to make your frame. You may start by doing a google search for "Picture Frame Profile". By looking through the images in this search it might give you ideas about ways to create an interesting, one of a kind, picture frame. Keep in mind you can always add personal touches to these. Like creating a flat piece in your molding to put a name or other wording of your choice. The video to the right will show you how we create a picture frame using a straight piece of crown molding. This will give you an idea of what the finished product will look like.
|
|
|
|
|
|
|
|
|
|
|
|
|
|
|
|
|
